Our latest NetEA battle between Space Marines and Tyranids is having the honour of being the very first entry on this blog. We played 3345 points per side on a 180x100cm table.
I was quite excited about this game as it was my biggest yet points-wise and also the first time I deployed my newly assembled (although not yet fully painted) Warbringer Titan (counts as a Warlord).
TYRANIDS
- Small Tyranid Swarm
2xTyranid Warriors; 3xTermagants; 3xHormagaunts - Small Tyranid Swarm
2xTyranid Warriors; 3xTermagants; 3xHormagaunts - Small Tyranid Swarm
2xTyranid Warriors; 3xTermagants; 3xHormagaunts; 4xMalefactor - Medium Tyranid Swarm
Dominatrix; Hive Tyrant; 6xTermagants; 6xHormagaunts - Medium Tyranid Swarm
2xHive Tyrant; 6xTermagants; 6xHormagaunts; 3xCarnifex - Large Tyranid Swarm
Hive Tyrant; 4xTyranid Warriors; 9xTermagants; 9xHormagaunts - Genetealer Swarm
9xGenestealers; Brood Lord - Medium Harridan Swarm
2xHarridan - Small Trygon Swarm
3xTrygon; 4xRaveners
ASTARTES
- Tactical Detachment (Squads I, II, III)
Supreme Commander; 6xTactical; 3xRhino - Tactical Detachment (Squads IV, V, VI)
6xTactical; Tactical Dreadnought; Drop Pod - Devastator Detachment (Squads IX, X)
4xDevastator; 2xLand Raider - Scout Detachment
4xScout; 2xRhino - Land Speeder Detachment
4xLand Speeder; Land Speeder Typhoon - Predator Detachment
4xPredator Annihilator - Landing Craft
- Strike Cruiser
- Warlord Titan
- Warhound Titan
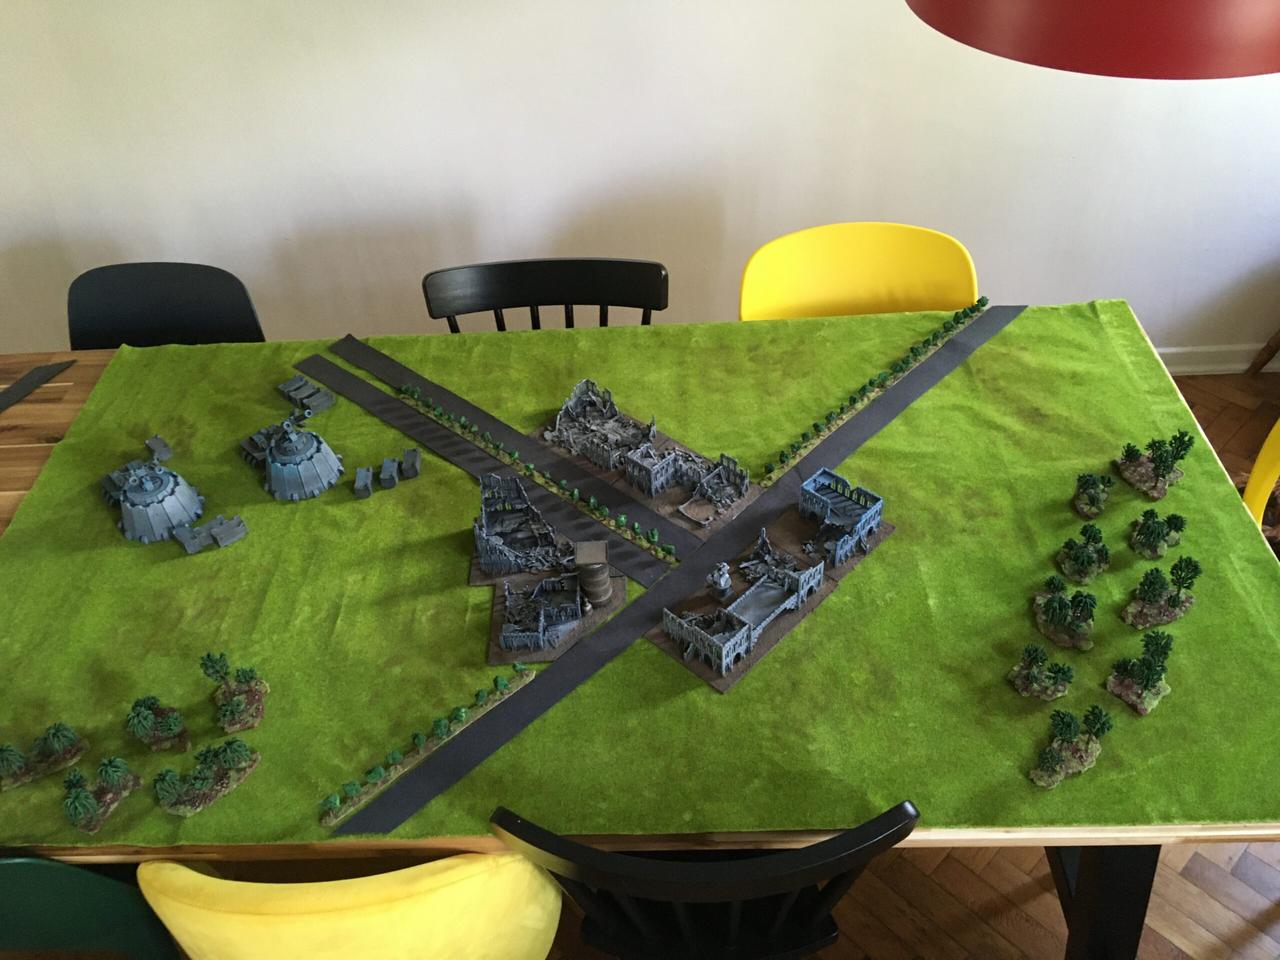

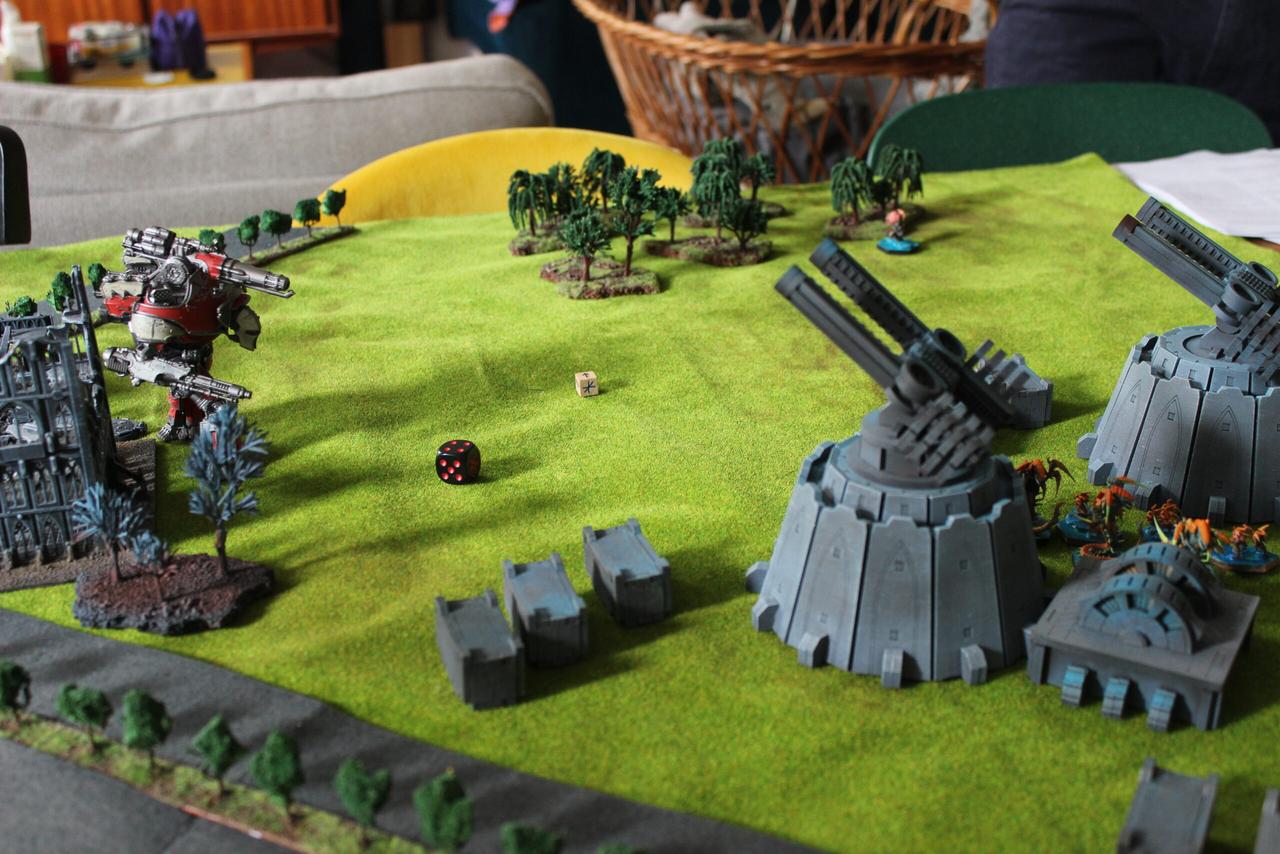
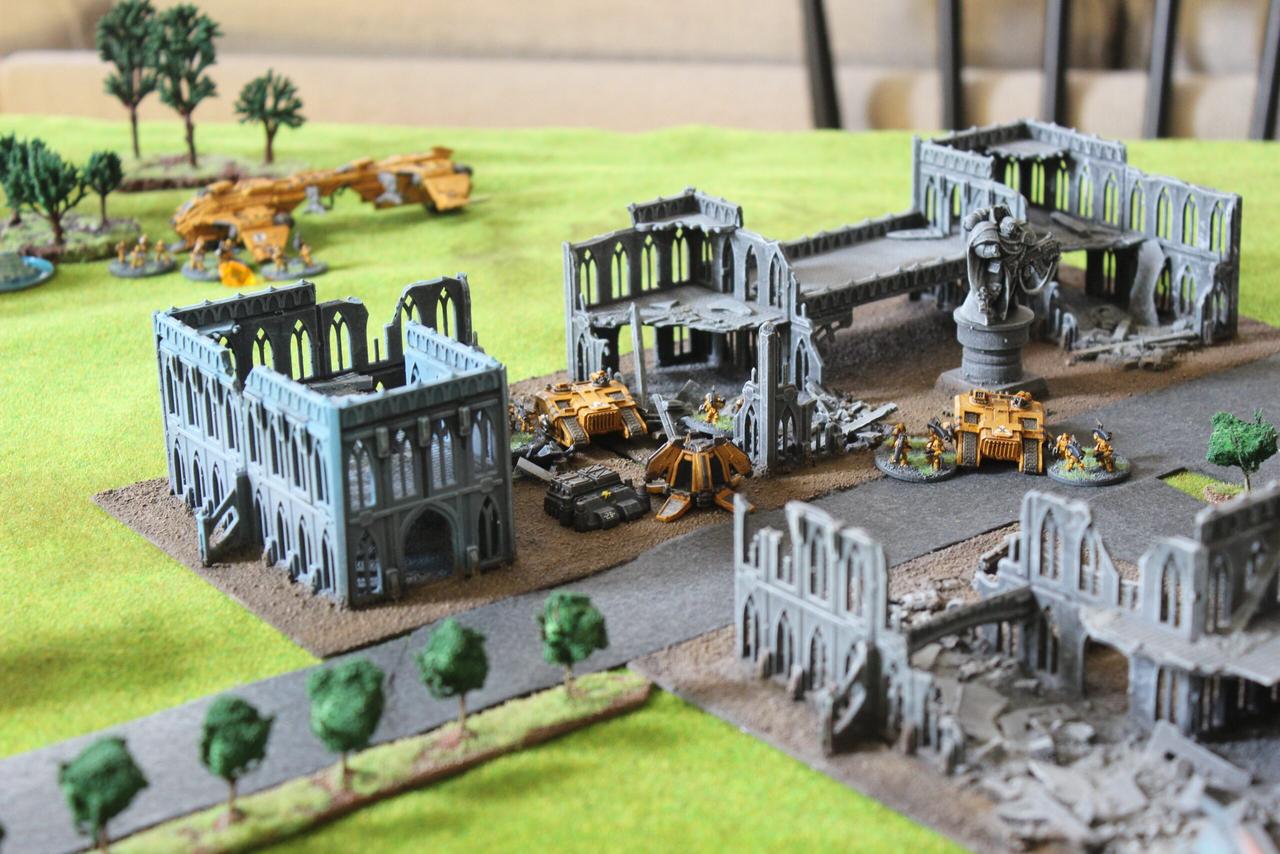
We deployed in the corners and while the Tyranids occupied almost their entire deployment zone my Imperial Fists started with only the Titans and Predators in theirs. My two Tactical and one Devastator formations started the game outside the table, waiting to drop from orbit or land aboard a Landing Craft. Land Speeders and Scouts set up garrisoned closer to the center, right next to a Genestealer swarm waiting in the ruins.
This proved fatal for the Scouts that were almost annihilated by the Genestealers in the very first move of the game, the survivors running away broken.
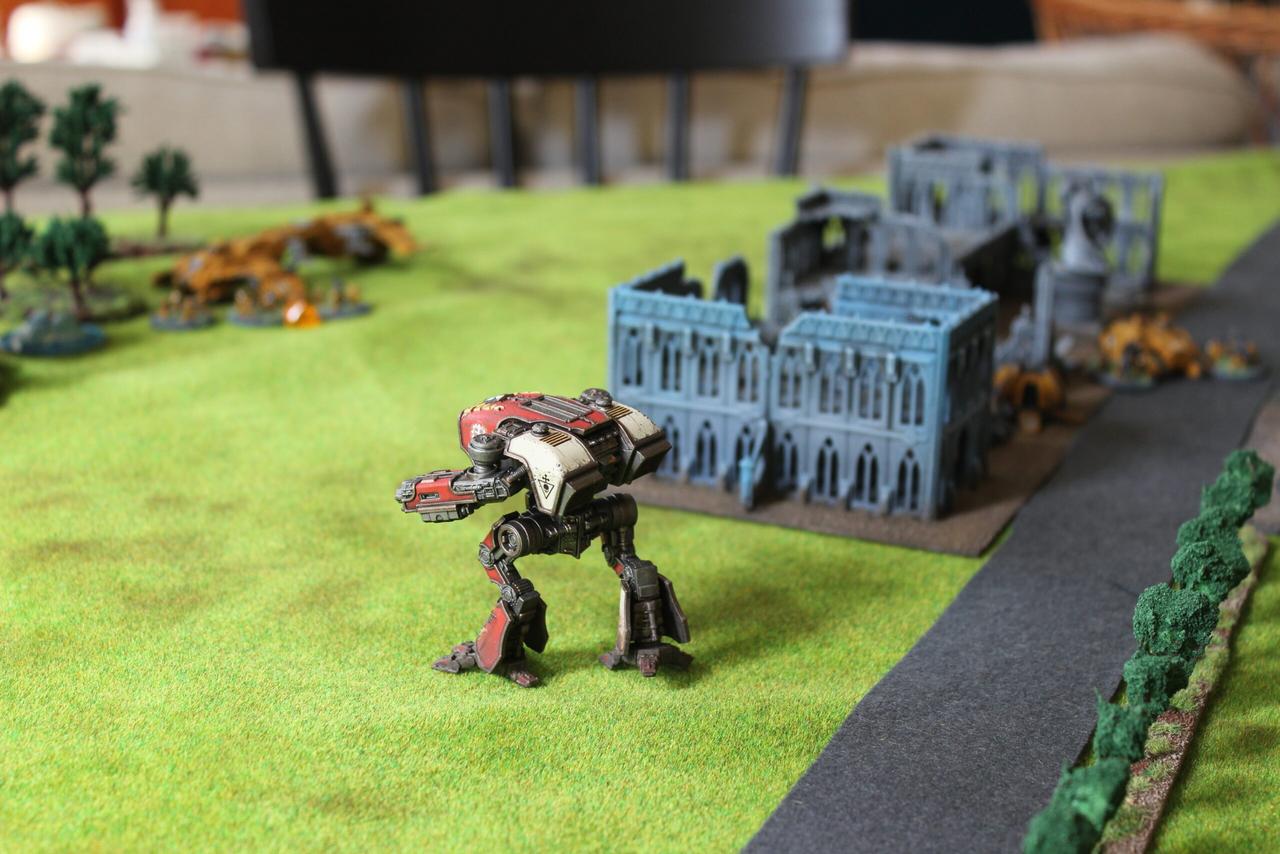
I retaliated by moving my Warbringer up the table and completely erasing the Tyranid Dominatrix with a salvo from all his guns. That pesky bug has been harassing me to no end in all our previous games, so it was pretty satisfying to see it finally go down.
The biggest Tyranid swarm advanced up the table targeting the huge Titan hoping to suppress him at least enough to reduce his chances of activating in the next turn. They failed to do any damage but did put one blast marker on him.

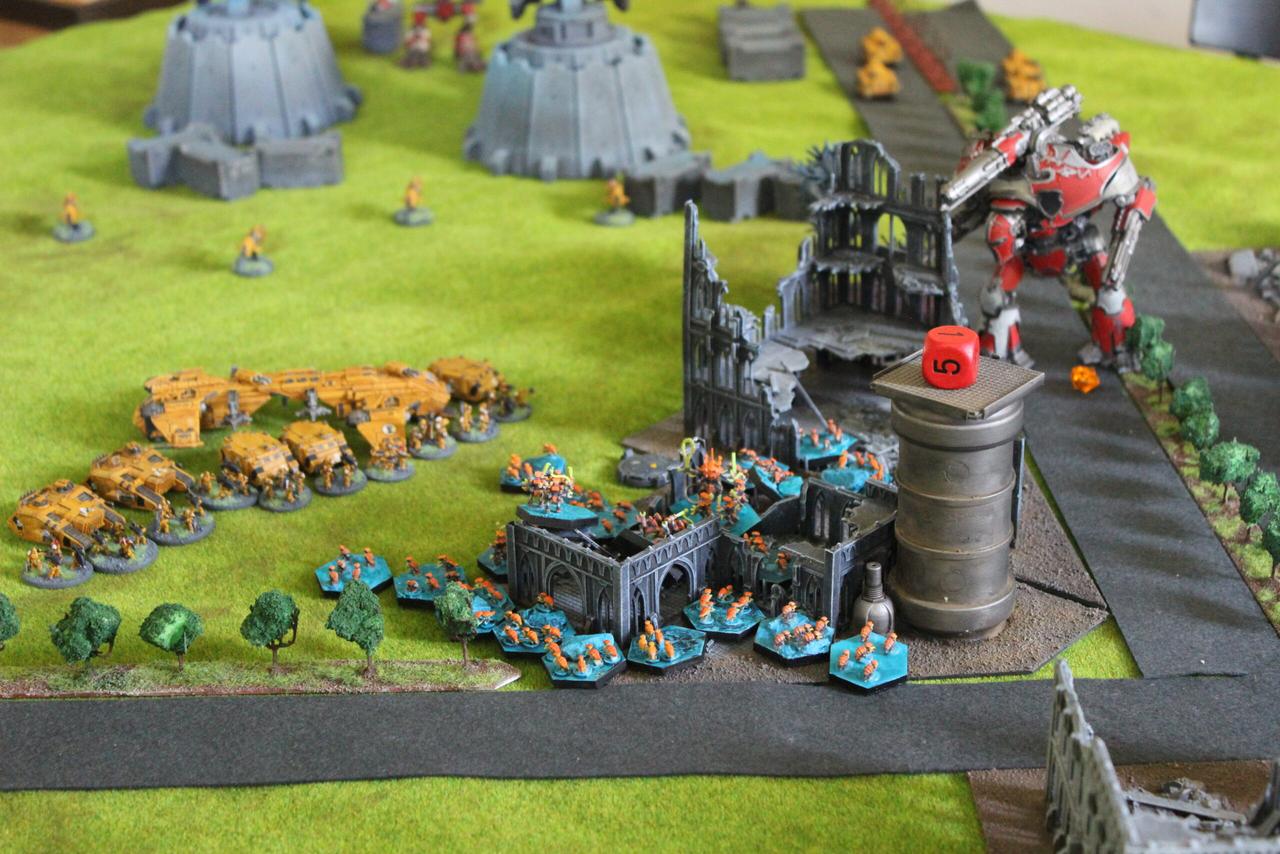
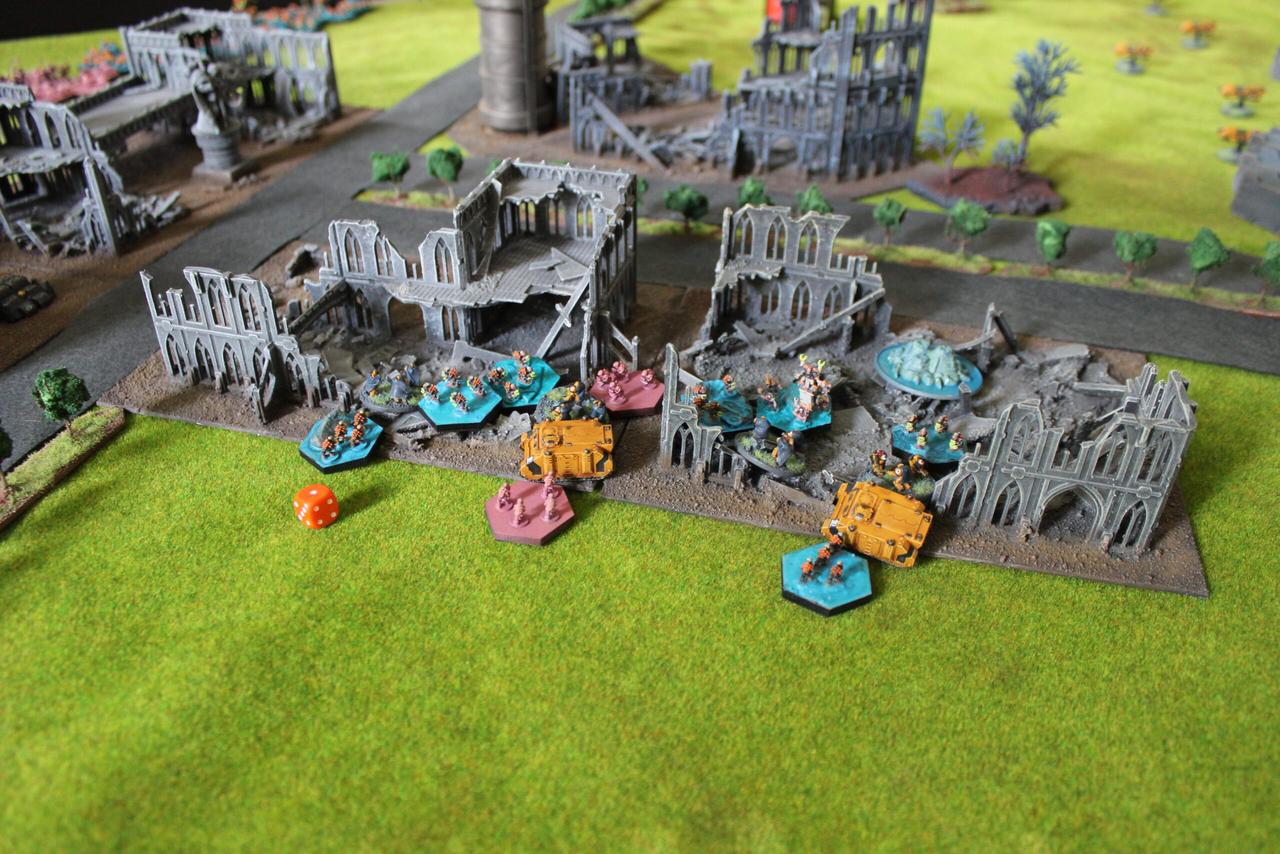
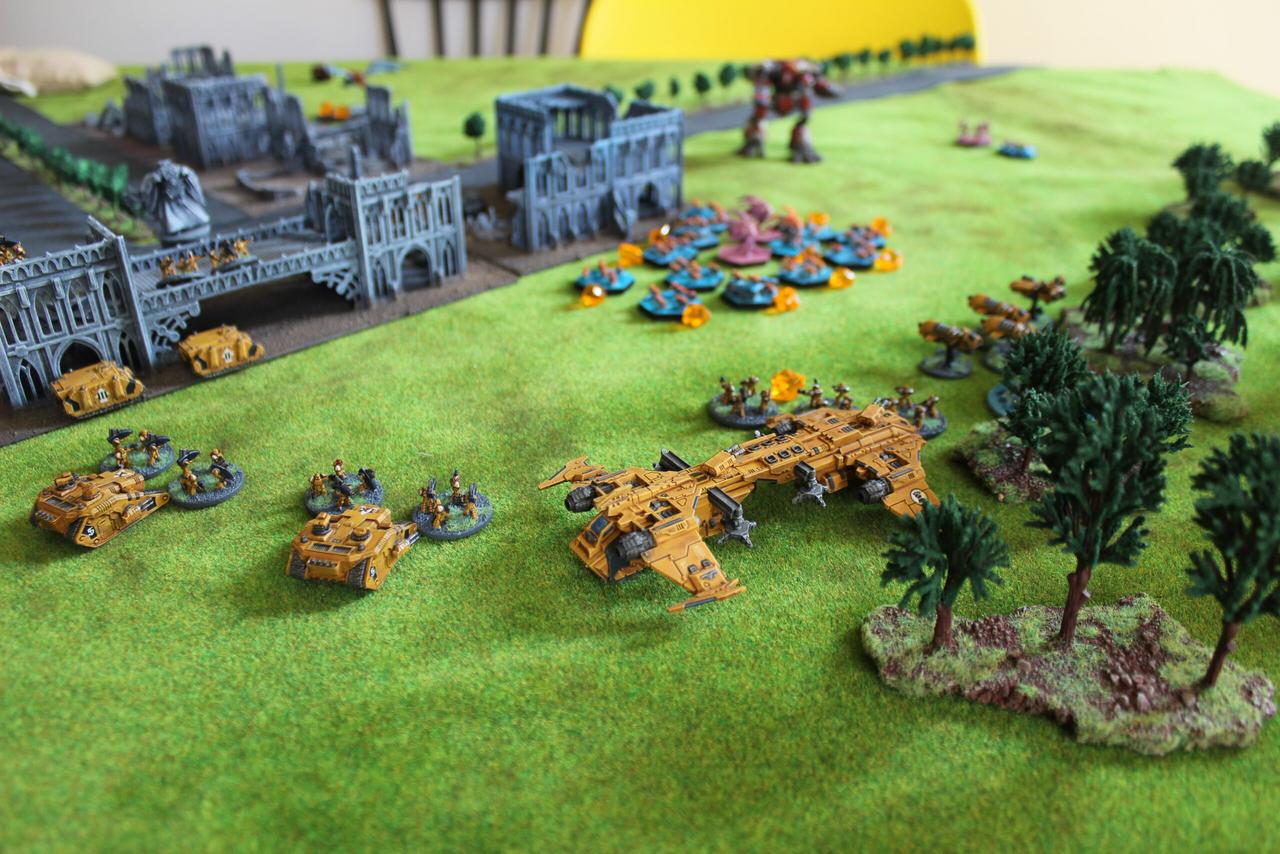
Seeing an opportunity to catch a big juicy target alone, far from the support of the rest of their army the Marines deploy a Landing Craft filled with tactical and devastator squads. Half a Space Marine company proved to be more than enough to blast away the whole swarm, especially when positioned outside the reach of their claws and right next to a Warbringer titan providing fire support.
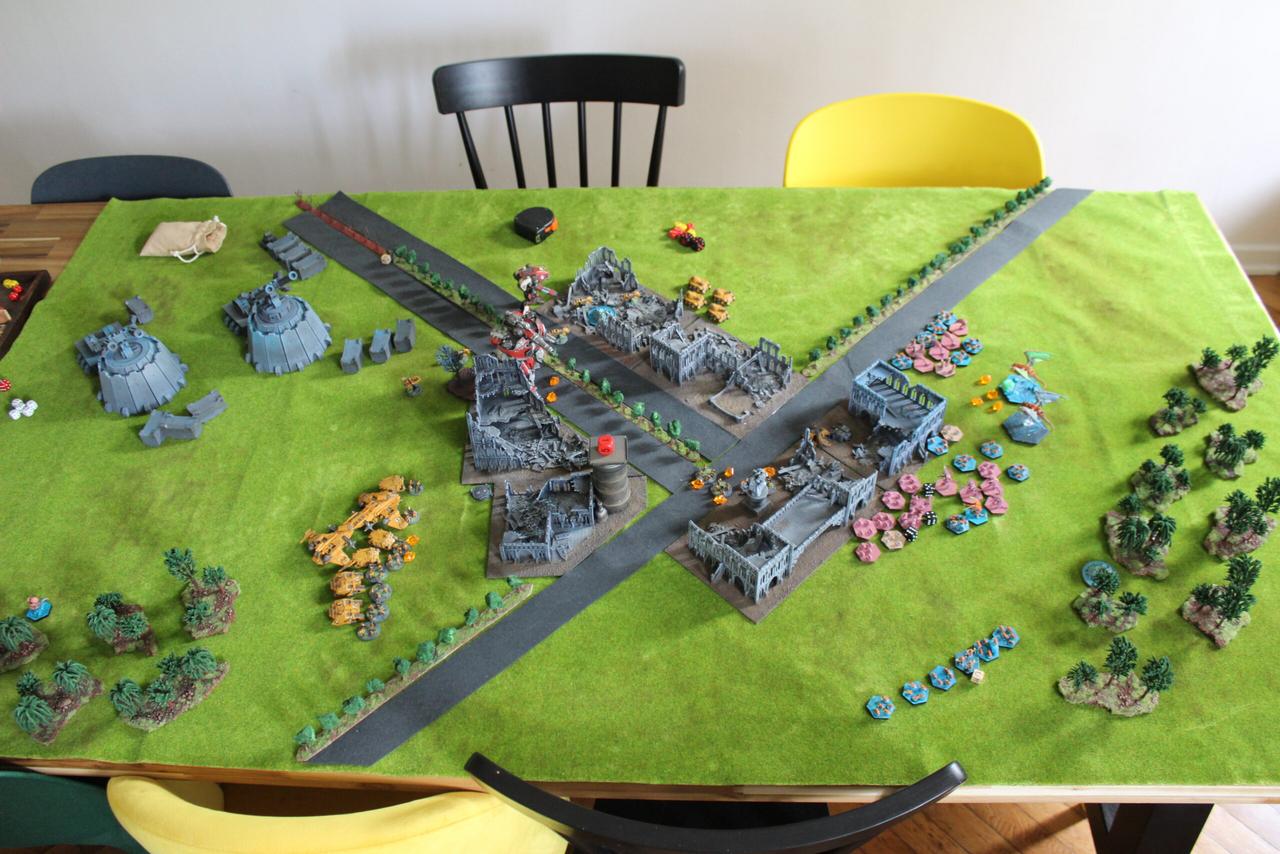
While the Tyranids kept advancing and taking potshots at the Marines the imperials did a double activation moving the Land Speeders and the Warhound-class Titan Pes Dei over to their left flank, completely crushing the Genestealers hiding in the ruins next to one of the objectives.

With more and more Tyranid swarms moving into the ruins and next to the power generator (another objective) the Imperial Fists decide for an orbital strike. The combined power of an orbital bombardment, drop pods pummelling the ground and an assault from a whole Tactical detachment the Marines managed to break three swarms and force them back.
With my final activation of the first turn I moved up with the Predators putting some suppressing fire on the Harridans coming in on my left flank.
It was looking pretty grim for the Tyranids by the end of the turn, with their most powerful formations crippled and their whole army pushed into a corner. But with my strongest moves spent (orbital operation and the combined Landing Craft assault) the tide could still turn in their favour, which has happened in the past.
Start of the second turn was marked by me sacrificing my Predators to break the Harridans, which was probably not the greatest idea. Right after firing they got eaten by an outflanking swarm.
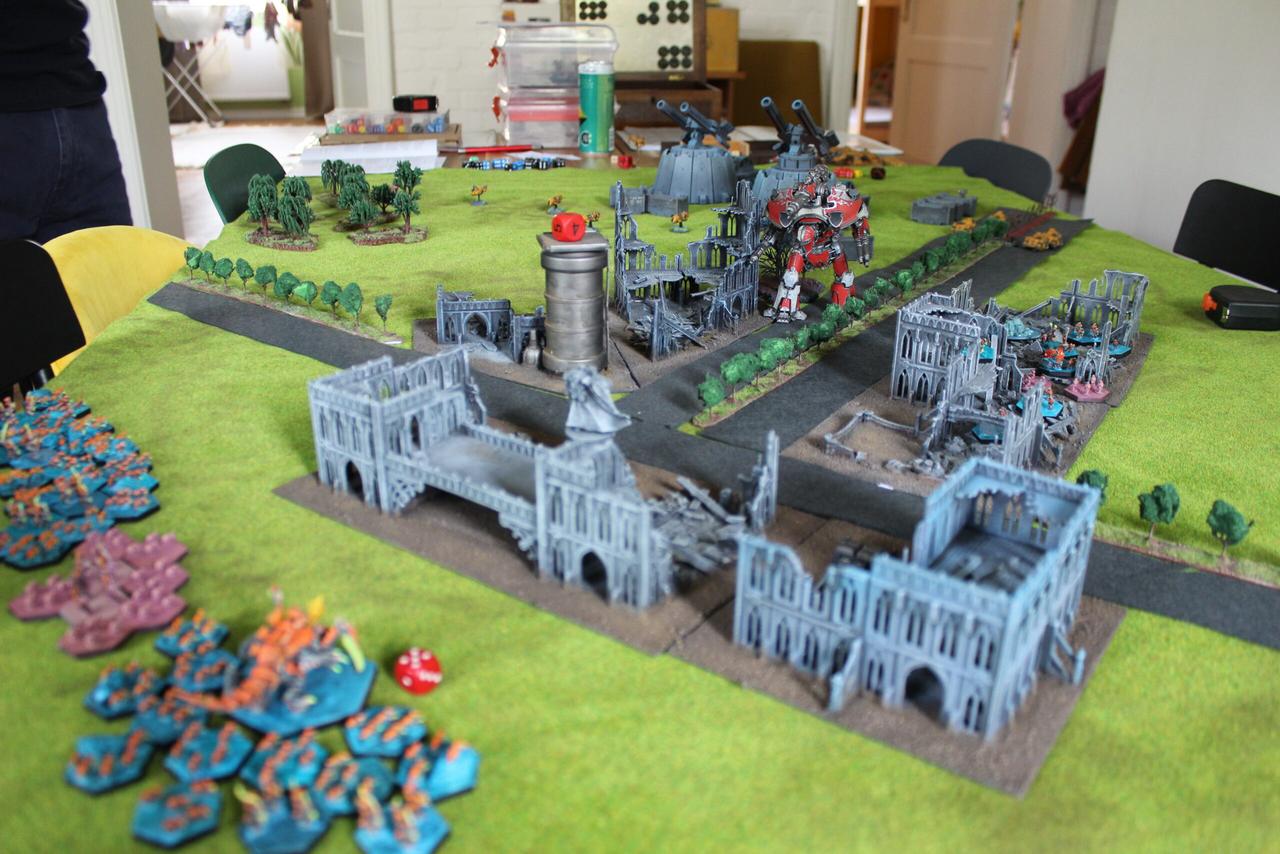
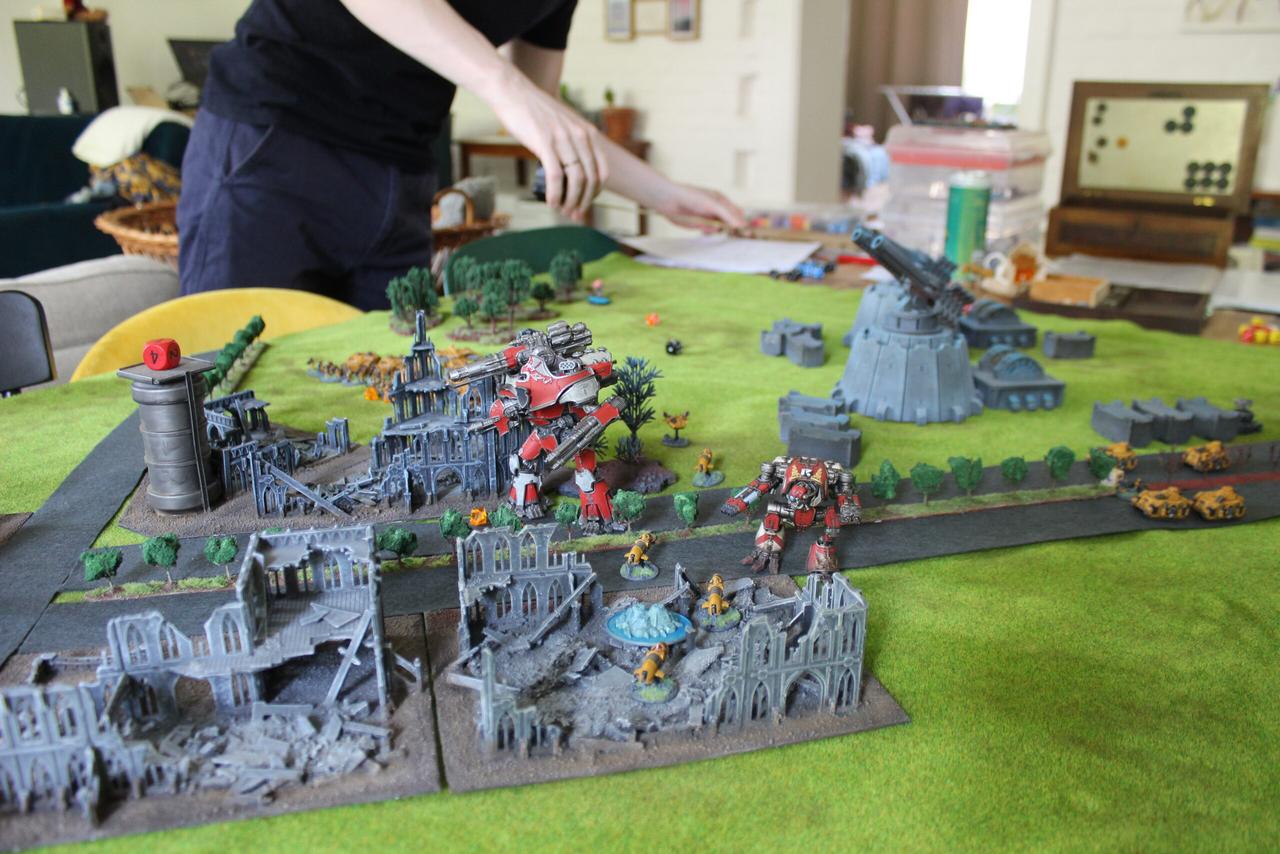
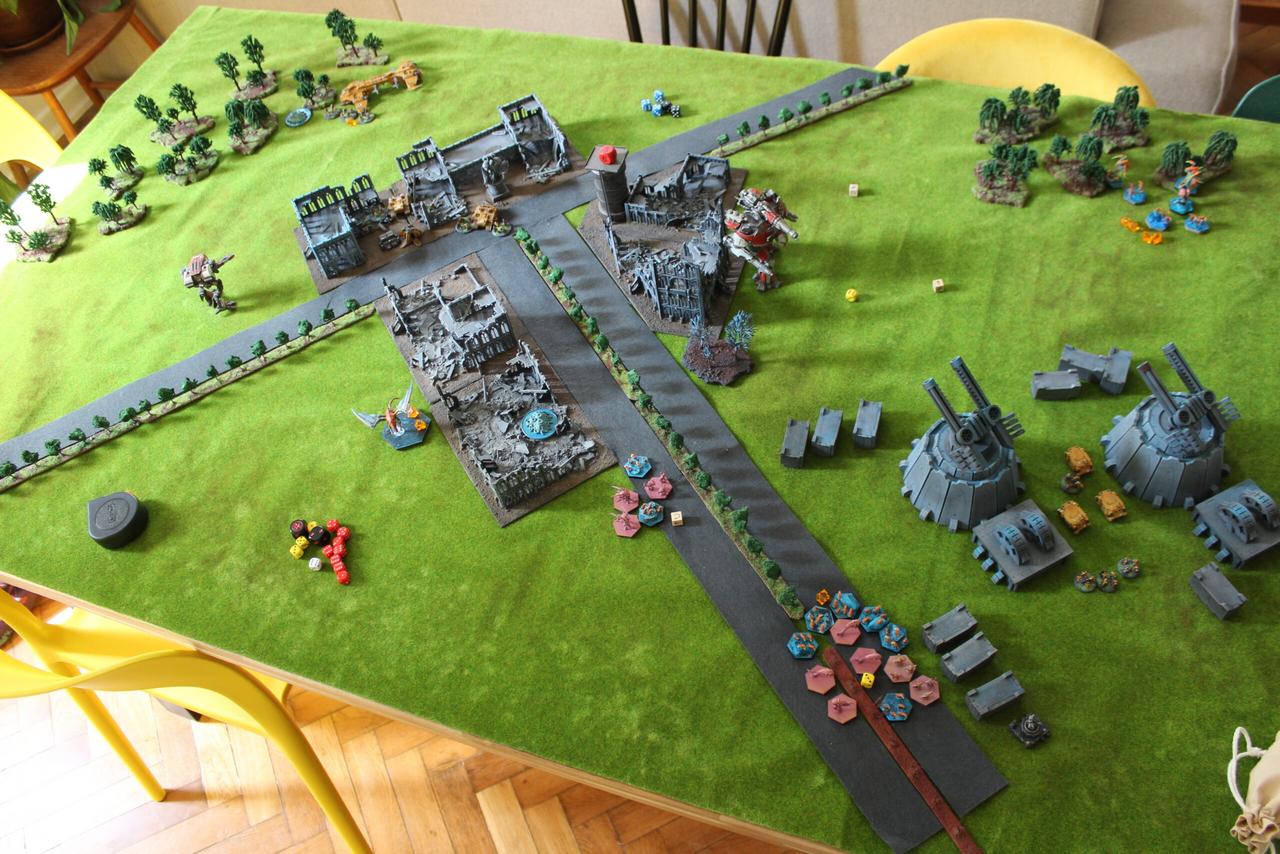
I think the above is the only photo I made during the second turn, but later I advanced with my Tacticals and Devastators from the right flank around the ruined city and surrounded the Tyranids, which combined into one bigger swarm. The Warhound went the other way, picking up targets of opportunity, while my Landing Craft flew straight into the center of the table and picked up the remnants of my planetfallen Tacticals and the Land Speeders, so they could be redeployed elsewhere on the next turn.
The third turn began with a group of Trygons and Raveners coming up straight from the ground right in my deployment zone. Luckily for me, this was well within reach of my Warbringer’s guns. The Trygons took some losses but didn’t break and proceeded to move to the objective visible at the top of the above photo.
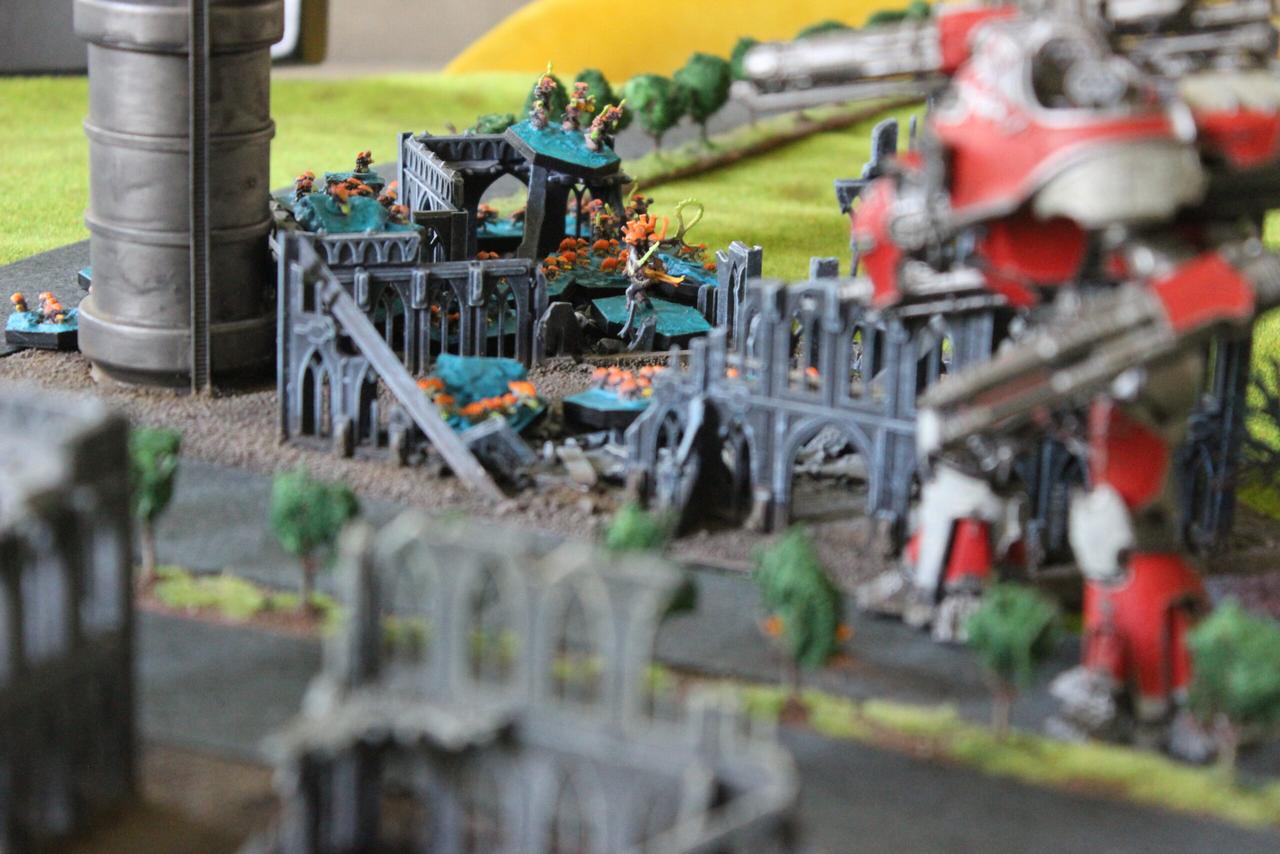
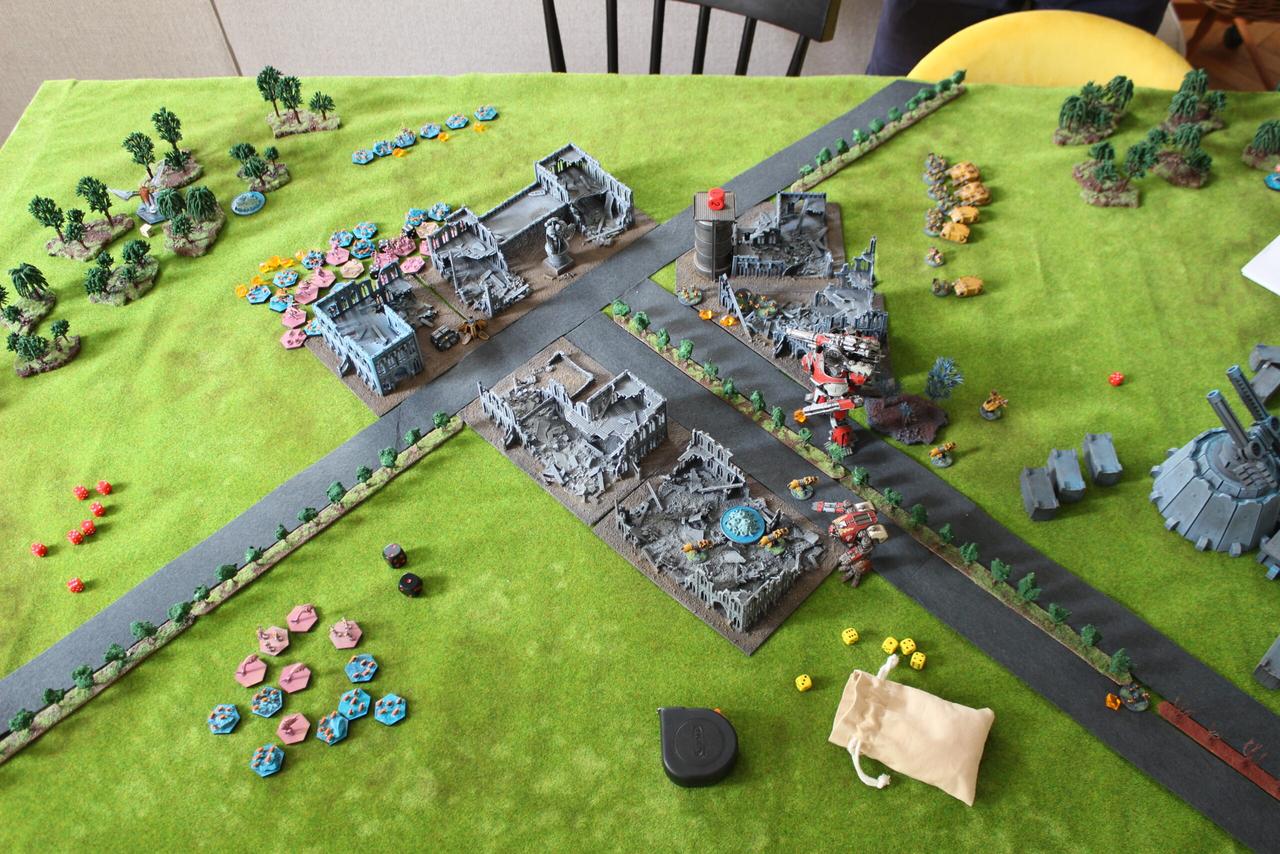
Meanwhile on the other side of the ruined monastery-complex another tactical insertion is taking place in the form of three combat squads and a wing of Land Speeders deploying from a Landing Craft. The combined assault is getting extra fire support from the nearby Devastators, Tacticals and Pes Dei in the back.
The Tyranids are decimated, but manage to destroy all of the Speeders with return fire.
The Tactical formation proceeds to move out towards their home objective (comms-bunker visible in the lower-right of the photo above) to deny it to the incoming swarm. The Devastators move through the ruins taking a few shots at a stray Tyranid group.
That marked the end of the third turn. The scoring came out as follows:
- The Tyranids captured a total of two objectives in their opponent’s half of the table
- The Marines captured a total of two objectives in their opponent’s half of the table
- The Marines captured the opponent’s home objective
- The Marines destroyed the formation worth the most points in the opposing army
That made the score 3:1 for the Marines ending the game without a fourth turn.

In conclusion the Landing Craft starts to feel a bit unfair, especially when coupled with a well placed orbital operation. It’s possible that having more AA units could have helped the ‘Nids and the narrow table (only 100cm) felt a bit too restricting at times as well. The cramped space meant landing a good orbital bombardment and planetfall was much easier, especially against such a swarmy army.
I was happy to see though that the Warlord Titan didn’t feel overpriced, but rather well worth the investment of 1/4th of my points. It appears indestructible and can contest objectives like nothing else, but the slow speed means it must start positioning itself from the first turn.
Next time I will probably try playing the Warbringer model as a Reaver and see how much of a difference that would make. We’ll probably try deploying along the longer edges too, instead of in the corners, to make better use of the table’s limited dimensions.